Creating and Managing Views
Views are created from the Issues or Explorer pages after you've applied your desired filters.
How to Create a View
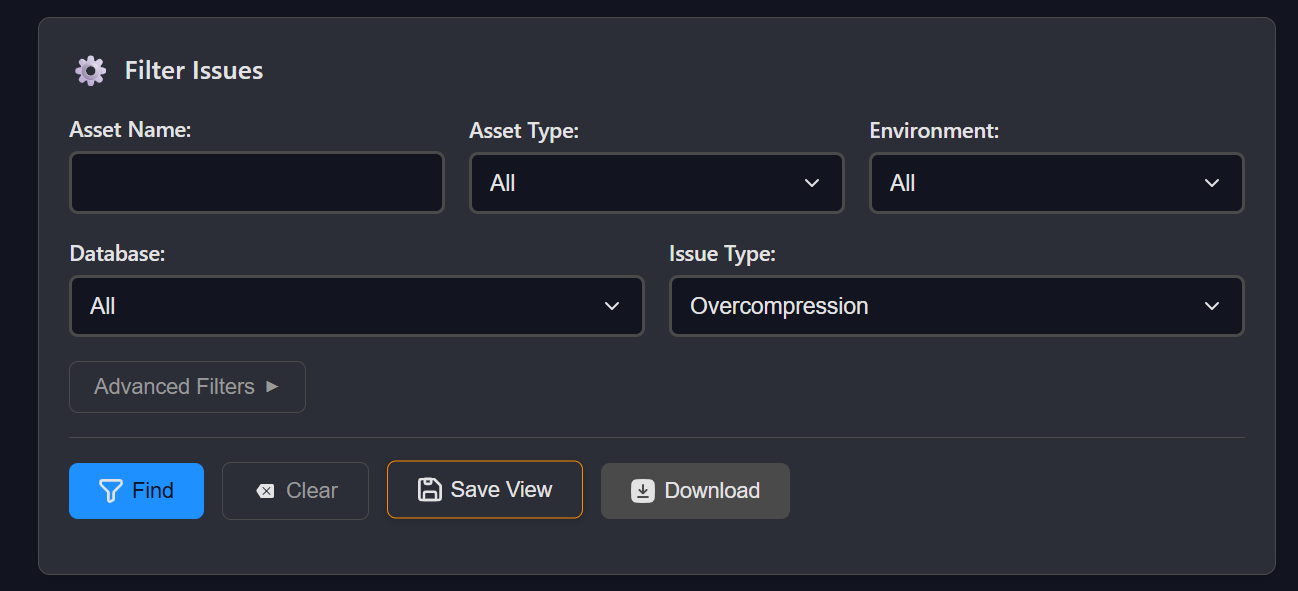
- Apply Filters: Use the filtering options on Issues or Explorer pages to narrow down your data
- Save the View: Look for a "Save View" or "Create View" option (typically in the page header or filter panel)
- Configure View Settings:
- Name: Give your View a descriptive name
- Description: Add details about what this View monitors (optional)
- Sharing: Choose whether to keep the View private or share it with your domain
Managing Your Views
Accessing the Views Page
Navigate to the Views page from the main navigation menu. Here you'll see:
View Cards: Each saved View displays as a card showing:
- View type badge (Issues or Explorer)
- Record count (number of assets or issues)
- View name and description
- Creation date
- Sharing status
- Alert indicator (if alerts are enabled)
View Filters
Use the filter buttons to organize your Views:
- All Views: Shows all Views you own and Views shared with you
- My Views: Shows only Views you created
- Shared Views: Shows Views created by others and shared with your domain
View Actions
For Views you own, you can:
- Edit: Modify the name, description, and sharing settings
- Configure Alerts: Set up notifications based on record counts
- Delete: Permanently remove the View